Add a 'Connect Wallet' Button to Your Website - Vanilla JS Edition!
A quick tutorial to create a 'Connect Wallet' button on your website with vanilla JavaScript in 9 easy steps


Table of contents
- Introduction
- The Ethereum Window Object
- Now, let's make that button!
- 1) Create your HTML and JS files
- 2) Create an if/else statement using window.ethereum in your index.js file
- 3) Use the Ethereum Request method
- 4) Test it in your browser
- 5) Make the button work
- 6) Turn the if/else statement into an asynchronous function
- 7) Check that it is working
- 8) Change the button text
- 9) Your final code should look like this! 💪🙌
- Conclusion
This article is part of my 'web 3' series where I share what I'm learning in #30DaysOfWeb3 - a 30-day online course by Women Build Web3!
If you are new to web3 - my "Web 3 for Beginners" article was featured on Hashnode and may be a good starting point for you :)
Introduction
If you've made the UI for your website and you're wanting to allow your users to interact with it via their Metamask wallets - here is a simple way that you can add a Connect Wallet button to your website.

NOTE: As there are different wallets, this process may differ slightly... but we will be covering how to connect with Metamask specifically.
To start with, make sure you have installed a Metamask wallet in your browser. Pin it to your toolbar.
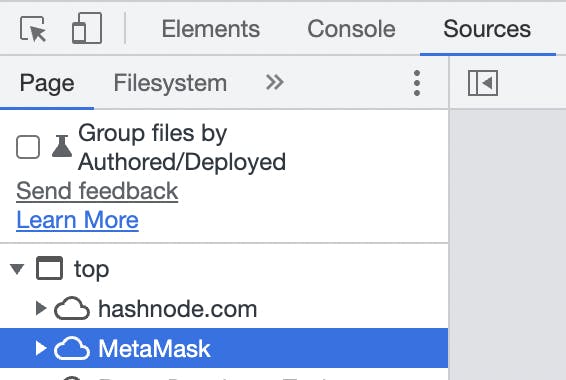
Open your developer tools using 'inspect' and go to 'sources'. If Metamask has been installed, you will see it there.
Basically, Metamask exposes the RPC URL for the network you are using (in this case Ethereum) to the browser.
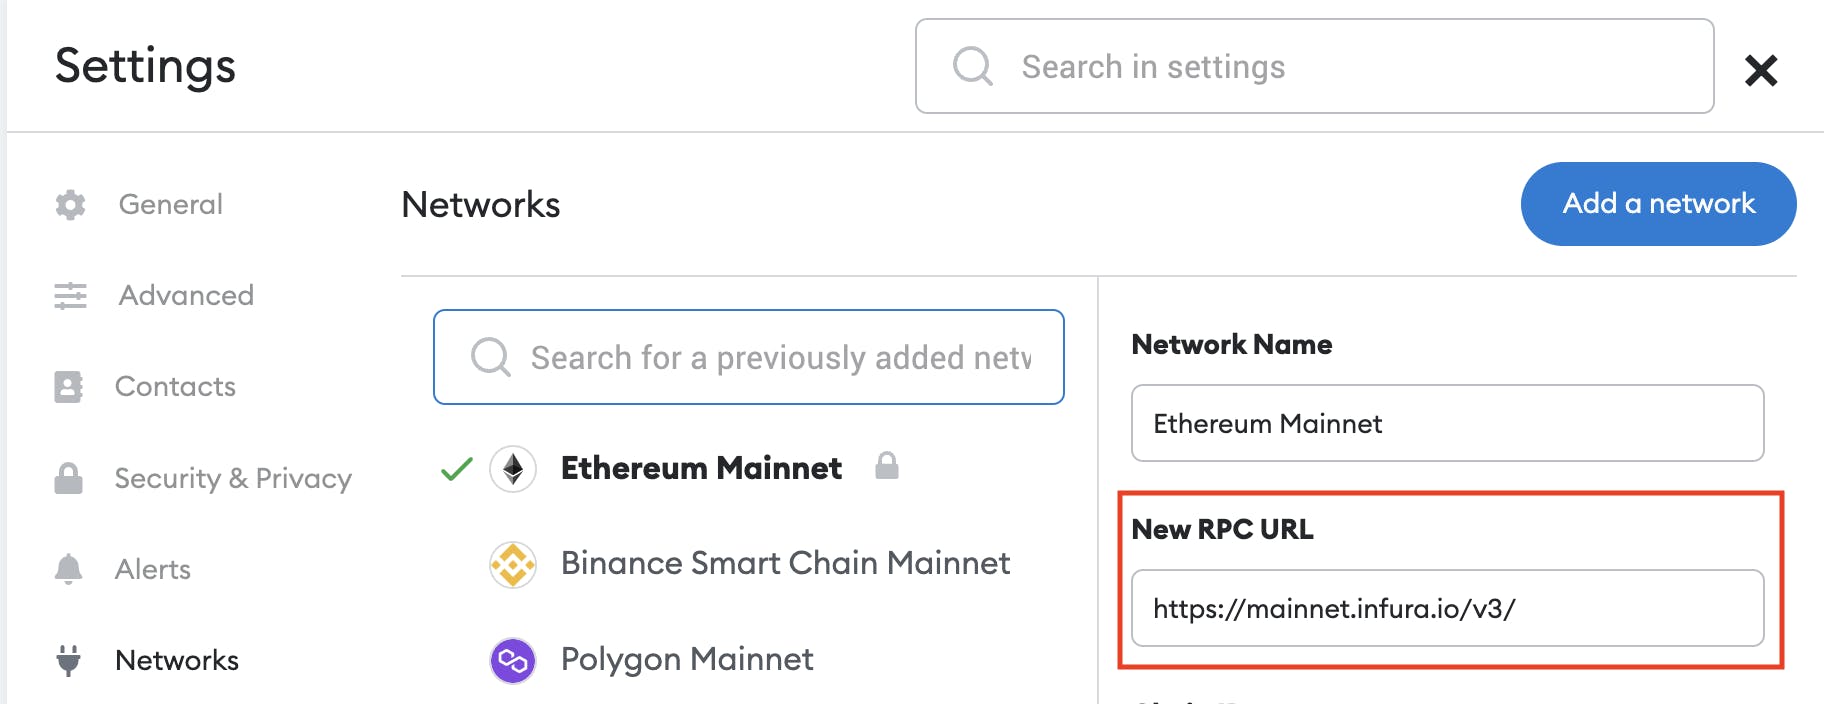
By providing this RPC URL, browser wallets (such as Metamask) allow for easy interaction with the blockchain!
The Ethereum Window Object
In order to create the interaction between a website and your Metamask wallet, MetaMask injects a global API into websites visited by its users.
It does this by using the Ethereum window object.
How do we access it?
Go to console and type window. You will see that this gives us access to our regular window object in the browser, right?

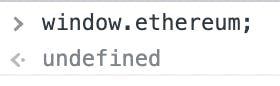
But now, type window.ethereum - you will see the ethereum window object exists because you have installed Metamask.

If it doesn't exist, you will see undefined.
NOTE: The Ethereum window object can only be detected on a live server. So either use localhost or you could use an online IDE such as Stackblitz to practice the steps below.
Now, let's make that button!
1) Create your HTML and JS files
If you haven't already, create a basic index.html file with a <button> element that says "Connect Wallet".
<button>Connect Wallet</button>
Create a JavaScript file called index.js and connect it to your HTML file like this:
<script src="./index.js" type="text/javascript"></script>
The script tag should go just before the closing </body> tag.
2) Create an if/else statement using window.ethereum in your index.js file
Like this:
if (typeof window.ethereum !== "undefined") {
    console.log("Metamask is installed")
} else {
    console.log("Metamask is not installed")
}
3) Use the Ethereum Request method
Take a look at the Metamask docs. You will see an Ethereum request method.
Instead of console.log("Metamask is installed"), add this method like this:
if (typeof window.ethereum !== "undefined") {
    window.ethereum.request({method: "eth_requestAccounts"})
} else {
    console.log("Metamask is not installed")
}
This method accepts an object with a method key and the value will be eth_requestAccounts.
4) Test it in your browser
Now, if we go back to the browser, we will see a Metamask window open up where we can follow the steps to connect.
5) Make the button work
Next, we need to connect this functionality to our button.
This is because we only want Metamask to open when we click the button, not each time the browser is refreshed.
So next, in your index.html file, give the button an id and onclick attribute, as in the code below:
<button id="connectButton" onclick="">Connect Wallet</button>
6) Turn the if/else statement into an asynchronous function
In order to add our if/else statement to the button, we can turn it into an asynchronous function called connect - as in the code below.
NOTE: We can use the await keyword before the Ethereum request method.
async function connect(){
    if (typeof window.ethereum !== "undefined") {
    await window.ethereum.request({method: "eth_requestAccounts"})
     } else {
    console.log("Metamask is not installed")
  }
}
Add this function to the onclick attribute.
Our button would now look like this:
<button id="connectButton" onclick="connect()">Connect Wallet</button>
Now, if we click the button, Metamask should open! Woohoo! 🥳
7) Check that it is working
We can now add console.log("connected") under the Ethereum request method to check that it is working, as in the code below:
async function connect(){
    if (typeof window.ethereum !== "undefined") {
       await window.ethereum.request({method: "eth_requestAccounts"})
       console.log("Connected")
       } else {
      console.log("Metamask is not installed")
    }
}
8) Change the button text
We can also change the button text by - instead of the 'console.log("Connected!")` - we can write:
document.getElementById("connectButton").innerHTML = "Connected!"
And we can change console.log("Metamask is not installed") to this:
document.getElementById("connectButton").innerHTML = "Please install metamask"
9) Your final code should look like this! 💪🙌
// index.html
<button id="connectButton" onclick="connect()">Connect Wallet</button>
// index.js
async function connect(){
    if (typeof window.ethereum !== "undefined") {
    await window.ethereum.request({method: "eth_requestAccounts"})
    document.getElementById("connectButton").innerHTML = "Connected!"
     } else {
    document.getElementById("connectButton").innerHTML = "Please install Metamask"
  }
}
Conclusion
And that's it! A simple vanilla JavaScript method for making your 'Connect Wallet' button work.
Thanks to Patrick Collins (@PatrickAlphaC) for his course on Youtube - Learn Blockchain, Solidity, and Full Stack Web3 Development with JavaScript – 32-Hour Course - where I learned this from. Go check it out!
In my next article, I'll be sharing with you a more advanced way of doing this using Next.js and RainbowKit!
Stay tuned 💜
Follow me on Twitter to see my progress with #30DaysOfWeb3 by @womenbuildweb3!