Storing Data on IPFS using Web3.Storage!
If you're ever wondered how to store your website data in a decentralised way...


Table of contents
- Introduction
- What is Web3.Storage?
- But why don't we store our data directly on the blockchain?
- Let's get started!
- 1) Sign up on Web3.Storage
- 2) Store your api token in a .env.local file
- 3) Install Web3.Storage in your project
- 4) Set up your form component in your React.js project
- 5) Create a state variable for each input element
- 6) Add an 'onChange' property on each of the input elements
- 7) Add a value attribute to each input element
- 8) Add an onSubmit event handler to the form element
- 9) Write the body of your handleSubmit function:
- 10) Create a makeStorageClient function
- 11) Add a try/catch/finally statement to your handleSubmit function
- 12) View the data in your browser
- 13) Retrieve your data
- Conclusion
This article is part of my 'web 3' series where I share what I'm learning in #30DaysOfWeb3 - a 30-day online course by Women Build Web3!
If you are new to web3 - my Web 3 for Beginners article was featured on Hashnode and may be a good starting point for you :)
Introduction
So, you're a developer wanting to get into the web3 space - but maybe you're wondering how exactly you're going to store your data? This article should help.
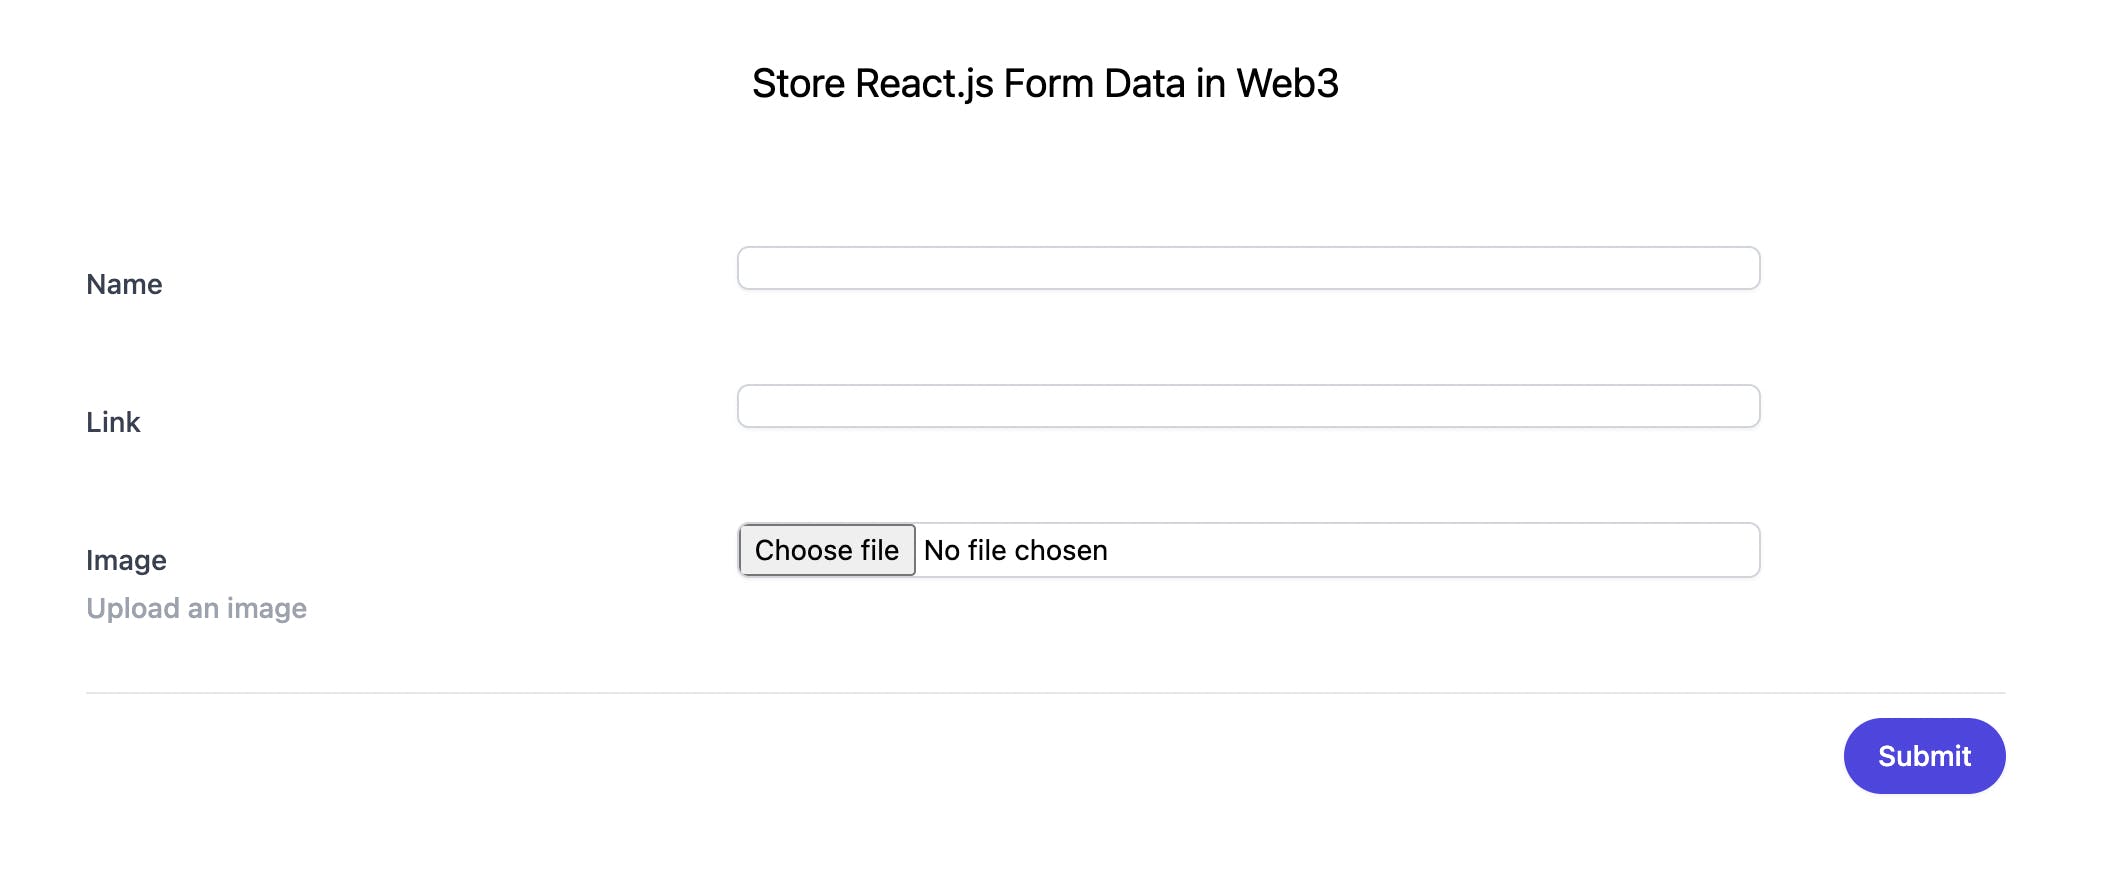
Today, we are going to create this simple form below with React.js and store the input data on IPFS using Web3.Storage:
What is Web3.Storage?
Web3.Storage is a service created by Protocol Labs to help developers interact more easily with IPFS (InterPlanetary File System) and Filecoin.
Some liken IPFS to the harddrive of blockchain and web3.
But why do we need Filecoin if we have IPFS?
Eventhough IPFS is decentralized, it is not a blockchain.
As such, data persistence is not guaranteed on IPFS - unless you run your own IPFS node or pay another IPFS node to pin your data. This is where Filecoin comes in.
Filecoin (also created by Protocol Labs) is a decentralised storage market built on top of IPFS. It incentivises IPFS nodes to pin your data by paying them using FIL token - which is the token of Filecoin.
Web3.Storage (another Protocol Labs product) makes use of both IPFS and Filecoin. It basically gives you a free api - allowing you to both store your data on IPFS and also take advantage of the data persistence of Filecoin.
But how much does it cost? This is what Web3.Storage says about this:
Web3.Storage is designed to scale to meet your storage needs. The economics of Filecoin allow us to offer all storage for free today.
The 1 TiB storage tier is open to everyone. If you need more than 1TiB, that's still free today, but we need to know more about your project so we can scale the service to meet your needs.
In the future, users will be able to pay to increase their storage capacity. This will remain low-cost, and all limits already increased for free will continue to be respected!
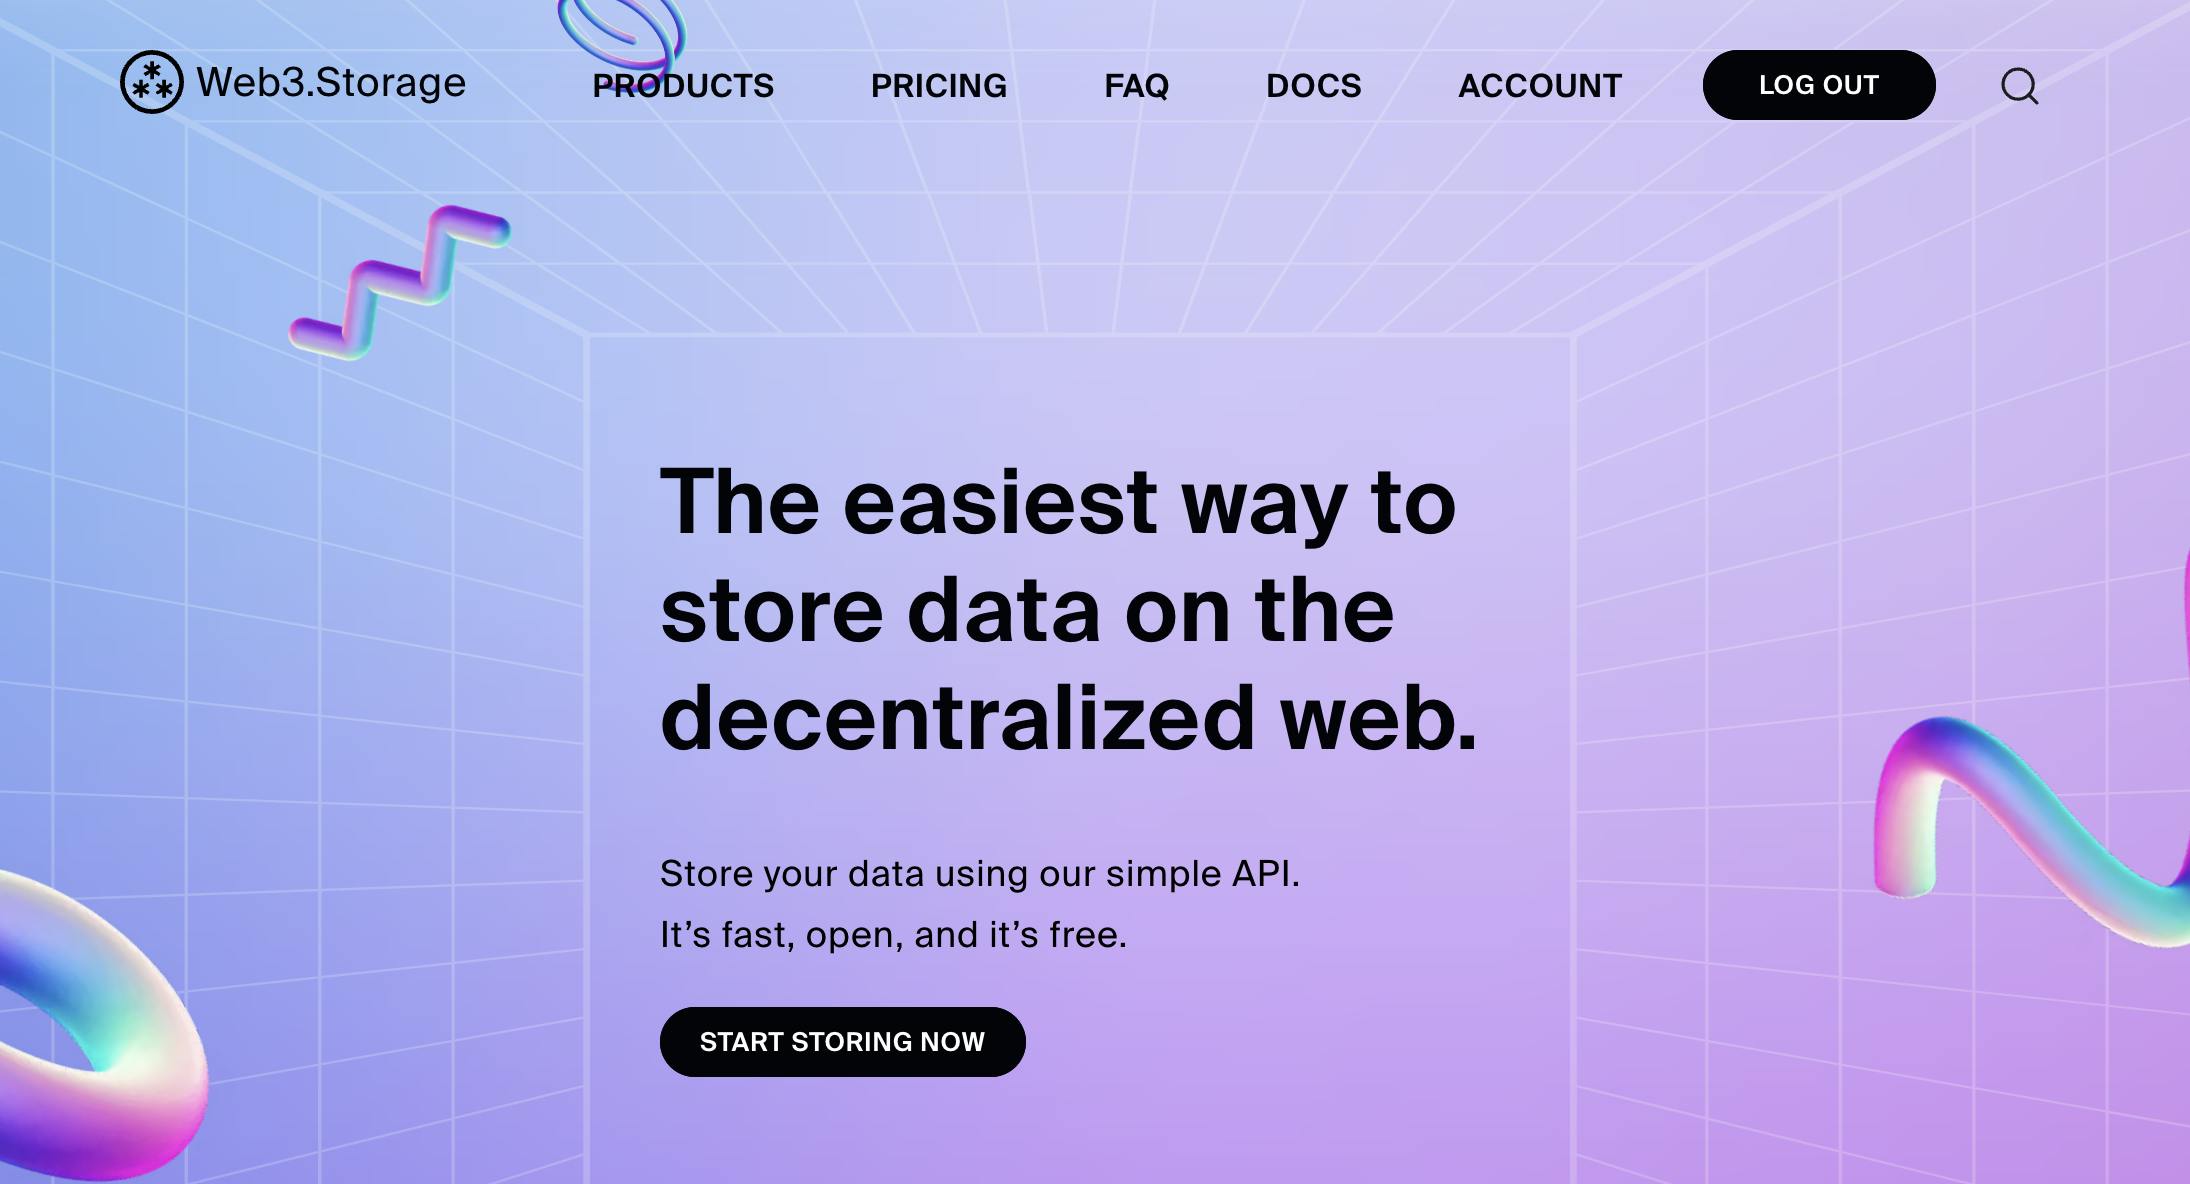
Here's some more information about Web3.Storage:
From the Web3.Storage docs:
In the past, storing data on the decentralized web wasn't always easy — but that's where Web3.Storage comes in. Most data on the internet today is hosted by massive storage providers like Amazon, Google, and Microsoft. This makes it simpler for developers to store application data, but big corporate platforms like these create silos by locking developers and users alike into walled gardens of services....
...One solution to this problem is using decentralized storage instead of big, corporate platforms to store data for apps and services. However, decentralized storage can be difficult to manage and add extra time and effort to an already crowded developer workflow — for example, most decentralized storage services need you to compile your data into a specific format, find a storage provider to host your data, buy some cryptocurrency to pay the storage provider, and then send your data across the internet. This is where Web3.Storage comes in.
With Web3.Storage, you get all the benefits of decentralized storage technologies with the frictionless experience you expect in a modern dev workflow. All you need to use Web3.Storage is an API token and your data. Under the hood, Web3.Storage is backed by the provable storage of Filecoin and makes data accessible to your users over the public IPFS network — but when it comes down to building your next application, service, or website, all you need to know is that Web3.Storage makes building on decentralized technologies simple. And best of all, Web3.Storage is free.
There are some important things to note about Web3.Storage though before you start using it:
1) All data uploaded to Web3.Storage is available to anyone who requests it using the correct CID. Do not store any private or sensitive information in an unencrypted form using Web3.Storage.
2) Deleting files from the Web3.Storage site’s Files page will remove them from the file listing for your account, but that doesn’t prevent nodes on the decentralized storage network from retaining copies of the data indefinitely. Do not use Web3.Storage for data that may need to be permanently deleted in the future.
But why don't we store our data directly on the blockchain?
Put simply - it is just not cheap, nor efficient!
Purestorage.com puts it this way:
Blockchain is a good fit when you need a system of record wrapped in total security, validity, and traceability. But for storage of larger files and more associated metadata, underlying databases will still be critical.
In other words, blockchains are good for storing tiny transaction data - such as a monetary transaction - but not good for storing image files, for example!
A smart contract would usually handle a monetary transaction on the blockchain and we could index it from the blockchain using a protocol such as The Graph.
But for today, let's focus on Web3.Storage!
Let's get started!
Note: You can interact with Web3.Storage through the JavaScript Client Library (i.e. programmatically through your website code), or you can upload your files in your Web3.Storage account directly.
In this tutorial, we are going to use our React.js code to interact with our Web3.Storage account.
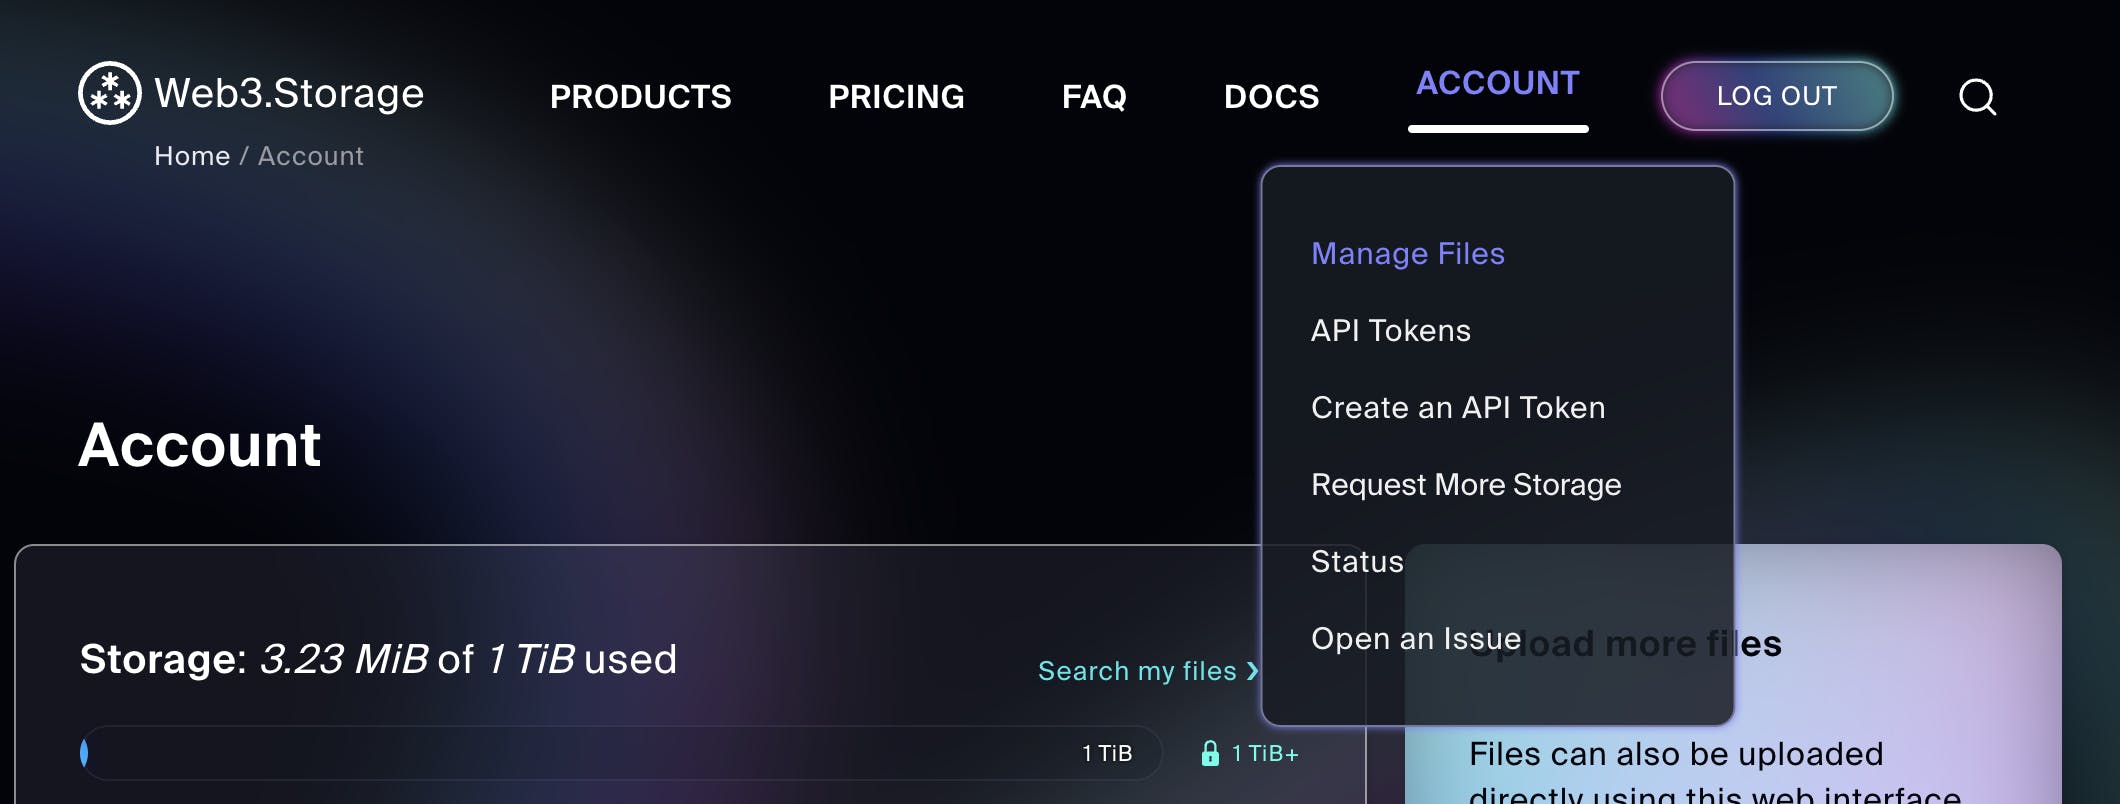
1) Sign up on Web3.Storage
Sign up on Web3.Storage and generate your free Web3.Storage API token on your accounts page.
2) Store your api token in a .env.local file
Create a .env.local file in your React project and add your Web3.Storage api token like this:
REACT_APP_WEB3STORAGE_TOKEN=<Your API token>
Storing this token in a .env.local file means that your website users can't access it on the front-end.
Don't share your api token with anyone!
NOTE: The naming of this token in the .env.local file would be different if we were say, using Next.js - it would be `NEXT_PUBLIC_WEB3STORAGE_TOKEN".
3) Install Web3.Storage in your project
npm i web3.storage
Make sure you are using the correct version of Node.js and npm.
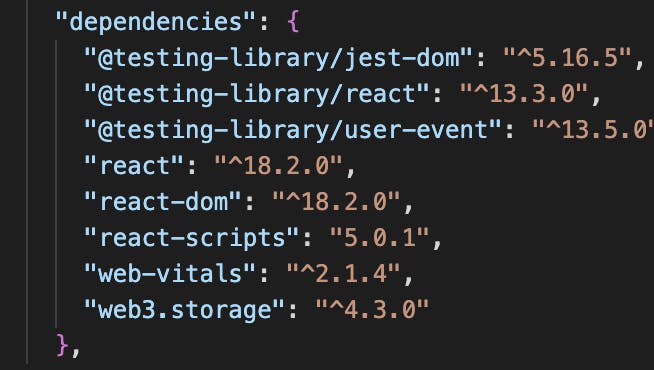
You should now see Web3.Storage in your dependencies in your package.json file:
4) Set up your form component in your React.js project
Create your component with your desired JSX structure.
I am using Tailwind CSS for this form - it is a utility-first CSS framework. You can also add it to your project by following their docs.
So, your JSX code could perhaps look like this:
 return (
    <div className="max-w-5xl mx-auto px-4 sm:px-6 lg:px-8">
      <header className="text-center">
        <h1 className="text-xl pt-12 pb-0">
          {" "}
          Store React.js Form Data in Web3
        </h1>
      </header>
      <main>
        <section className="relative py-12">
          <form
            onSubmit={handleSubmit}
            className="space-y-8 divide-y divide-gray-200"
          >

            <div className="space-y-6 sm:space-y-5">
              <div className="sm:grid sm:grid-cols-3 sm:gap-4 sm:items-start sm:pt-5">
                <label
                  htmlFor="eventname"
                  className="block text-sm font-medium text-gray-700 sm:mt-px sm:pt-2"
                >
                  Name
                </label>
                <div className="mt-1 sm:mt-0 sm:col-span-2">
                  <input
                    id="event-name"
                    name="event-name"
                    type="text"
                    className="block max-w-lg w-full shadow-sm focus:ring-indigo-500 focus:border-indigo-500 sm:text-sm border border-gray-300 rounded-md"
                    required
                    value={username}
                  />
                </div>
              </div>

              <div className="sm:grid sm:grid-cols-3 sm:gap-4 sm:items-start sm:pt-5">
                <label
                  htmlFor="event-link"
                  className="block text-sm font-medium text-gray-700 sm:mt-px sm:pt-2"
                >
                  Link
                </label>
                <div className="mt-1 sm:mt-0 sm:col-span-2">
                  <input
                    id="event-link"
                    name="event-link"
                    type="text"
                    className="block max-w-lg w-full shadow-sm focus:ring-indigo-500 focus:border-indigo-500 sm:text-sm border border-gray-300 rounded-md"
                    required
                    value={link}
                  />
                </div>
              </div>

              <div className="sm:grid sm:grid-cols-3 sm:gap-4 sm:items-start sm:pt-5">
                <label
                  htmlFor="event-link"
                  className="block text-sm font-medium text-gray-700 sm:mt-px sm:pt-2"
                >
                  Image
                  <p className="mt-1 max-w-2xl text-sm text-gray-400">
                    Upload an image
                  </p>
                </label>
                <div className="mt-1 sm:mt-0 sm:col-span-2">
                  <input
                    id="event-image"
                    name="event-image"
                    type="file"
                    className="block max-w-lg w-full shadow-sm focus:ring-indigo-500 focus:border-indigo-500 sm:text-sm border border-gray-300 rounded-md"
                    required
                  />
                </div>
              </div>
            </div>

            <div className="flex justify-end">
              <button
                type="submit"
                className="ml-3 mt-3 inline-flex justify-center py-2 px-4 border border-transparent shadow-sm text-sm font-medium rounded-full text-white bg-indigo-600 hover:bg-indigo-700 focus:outline-none focus:ring-2 focus:ring-offset-2 focus:ring-indigo-500"
              >
                Submit
              </button>
            </div>
          </form>
        </section>
      </main>
    </div>
  );
In the above code, you will notice that for the image uploader, the type of input is file, like this:
<input type="file"/>
You will also need a button of type="submit" at the end of your form.
5) Create a state variable for each input element
This should look something like this:
  const [username, setUsername] = useState("");
  const [link, setLink] = useState("");
  const [image, setImage] = useState(null);
You will see that we have initialised our first two state variables with empty strings and we have initialised our image state variable with null.
Don't forget to import the useState hook at the top of your file.
import { useState } from "react"
6) Add an 'onChange' property on each of the input elements
This onChange function will look something like this:
<input onChange={(e) => setUserName(e.target.value)} />
However, you will notice that for our image uploader input, we don't update our state variable with e.target.value - we instead update it with e.target.files[0].
<input onChange={(e) => setImage(e.target.files[0])}/>
Why do we do this? This is because we only want to access the first item in the files array (because we are only allowing the user to upload one image for this form), but the files array has the ability to hold multiple images.
7) Add a value attribute to each input element
Use your state variables to add value attributes to each input element.
<input value={username} />
Why do we do this?
Basically, we want our component to be a controlled component - i.e. we want to be sure that the input's value is always driven by the state.
Note: In React, an
<input type="file" />is always an uncontrolled component because its value can only be set by a user, not programmatically.
8) Add an onSubmit event handler to the form element
You can now go ahead and pass a handleSubmit function to the onSubmit event handler which will be triggered each time the form is submitted.
<form onSubmit={handleSubmit}></form>
9) Write the body of your handleSubmit function:
Let's create our handleSubmit function. It will be an asynchronous function:
a) The first thing we're going to do is use the e.preventDefault() method to stop the form from reloading.
 async function handleSubmit(e) {
    e.preventDefault();
}
b) Next, when the user clicks the form button, we want to store our state variables in an object.
Add the code below to your handleSubmit function.
    const body = {
      name: username,
      link: link,
      image: image.name,
    };
This is the data that we will be storing on Web3.Storage - we will call this object: body.
Note: For the image, we want to access
image.namefrom theimagestate variable - which is ofFiledata type.Filedata type always contains the name of the file that you are uploading.
10) Create a makeStorageClient function
Let's leave our handleSubmit function for a bit and create a makeStorageClient function just below our imports at the top of file (i.e. outside of the function component).
This function will allow us to create a new instance of the Web3Storage object which will contain our API token.
This Web3Storage object will allow us to interact with Web3.Storage.
function makeStorageClient() {
  return new Web3Storage({
    token: process.env.REACT_APP_WEB3STORAGE_TOKEN,
  });
}
You will see in the above code that we are not directly using our Web3.Storage token, but rather referencing it from our .env.local file.
Also, don't forget to import Web3.Storage at the top of the file, like this:
import { Web3Storage } from "web3.storage";
11) Add a try/catch/finally statement to your handleSubmit function
Going back to our handleSubmit function, you can add the code below:
  try {
      const buffer = Buffer.from(JSON.stringify(body));
      const files = [new File([buffer], "data.json"), image];
      const client = makeStorageClient();
      const cid = await client.put(files);
      console.log(cid)
      await createEvent(cid); /// Optional - passing CID to a function that will interact with a smart contract to         use that data.
    } catch (error) {
      alert(
        `Oops! Something went wrong. Please refresh and try again. Error ${error}`
      );
    } finally {
   setUsername("")
   setLink("")
   setImage(null)
}
Let's go a bit deeper into what is happening here.
1) const buffer = Buffer.from(JSON.stringify(body));
Here we are converting the body object into a Buffer module. The buffer module provides a way of handling streams of binary data.
2) const files = [new File([buffer], "data.json"), image];
In this line, we are converting buffer into a File object.
The File() constructor creates a new File object instance. It accepts an array of two file objects - one with the buffer data (which we will name data.json) and also the image file which is our state variable.
We do this step in order to convert our data into the correct format that Web3.Storage requires.
The Web3.Storage client's 'put' method requires an array of Files
NOTE: If you are getting an error that Buffer is not defined, do this:
a) Install Buffer
npm i buffer
b) Add this code to the top of your component file:
import { Buffer } from "buffer";

window.Buffer = Buffer;
3) const client = makeStorageClient();
Here we are creating a client variable that is calling the makeStorageClient() function. We created this makeStorageClient function earlier.
4) const cid = await client.put(files)
In the above line of code, we are creating a variable called cid and uploading our files with the help of the client's put method. In return, we will get the CID.
The CID (i.e. the content identifier) is a unique identifier on IPFS - it is like the url to your file. It is represented by a hash - a long string of letters and numbers.
So each time your form is submitted, a new CID will be created for that set of data.
5) OPTIONAL: await createEvent(cid);
This line is optional for the purposes of this article.
Here we are passing the CID to a function that will interact with our smart contract (if we have one) to use that data elsewhere on your website/DApp.
Below is an example of passing your CID to a function that will be passed to your smart contract. You would include this within your handleSubmit function.
 async function createEvent(cid) {
      try {
        const rsvpContract = connectContract();

        if (rsvpContract) {
          let deposit = ethers.utils.parseEther(refund);
          let eventDateAndTime = new Date(`${eventDate} ${eventTime}`);
          let eventTimestamp = eventDateAndTime.getTime();
          let eventDataCID = cid;

          const txn = await rsvpContract.createNewEvent(
            eventTimestamp,
            deposit,
            maxCapacity,
            eventDataCID,
            { gasLimit: 900000 }
          );
          setLoading(true);
          console.log("Minting...", txn.hash);
          let wait = await txn.wait();
          console.log("Minted -- ", txn.hash);

          setEventID(wait.events[0].args[0]);

          setSuccess(true);
          setLoading(false);
          setMessage("Your event has been created successfully.");
        } else {
          console.log("Error getting contract.");
        }
      } catch (error) {
        setSuccess(false);
        setMessage(`There was an error creating your event: ${error.message}`);
        setLoading(false);
        console.log(error);
      }
    }
    console.log("Form submitted");
  }
6) Clear your state variables
At the end of your try/catch/finally statement, be sure to reset your state variables, like this:
    } finally {
   setUsername("")
   setLink("")
   setImage(null)
}
12) View the data in your browser
To now see your data on Web3.Storage, fill out your form and push submit.
We have added a 'console.log(cid)' statement in the 'try/catch/finally' statement, so that you can see the CID in your console:
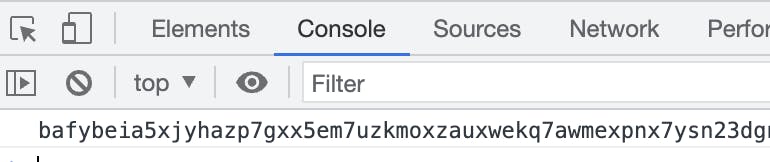
Copy the CID that you see in your console.
Then, type this into your browser:
Be sure to insert your CID!
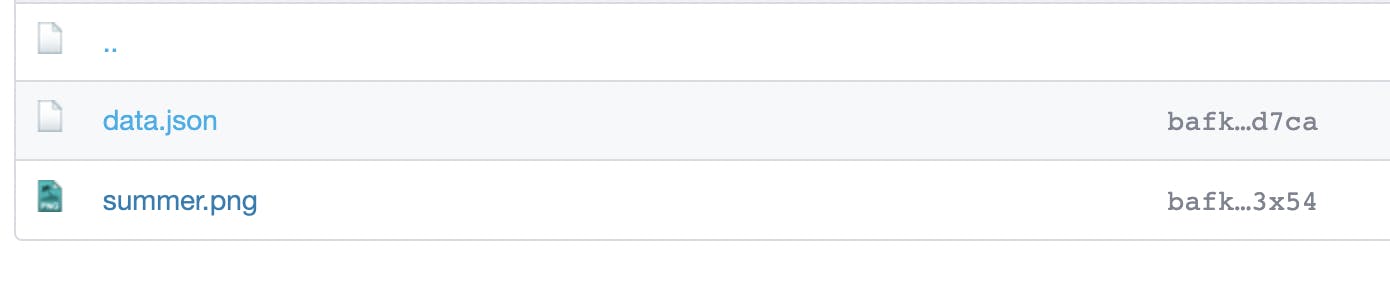
https://<CID>.ipfs.dweb.link/
When you do this, you should see your data.json file and your image file. It will look something like this.
Congrats! You have just stored your React form data on Web3.Storage! 🥳
You can even share this IPFS link so that others can download the files if they wish to!
But a reminder - everything you store on Web3.Storage is publicly available - so don't add sensitive files!
13) Retrieve your data
Now that you have stored your data, there are many ways to retrieve it. You may want to insert it into the UI of another part of your website, or use it for a completely separate website altogether!
Head over to the Web3.Storage docs to learn more about this.
Conclusion
Storing data on the blockchain is not cheap or efficient! Web3.Storage provides a free and easy way to store your website data in a decentralised way.
I hope that you found this helpful! To see my Github Repo for this tutorial - click here.
If you'd like to also add a 'Connect Wallet' button to allow your website visitors to do monetary transactions that are stored on the blockchain (such as paying for a service), take a look at my previous articles:
Add a 'Connect Wallet' Button to Your Website - Vanilla JS Edition!
Add a 'Connect Wallet' Button to Your Website - Next.js and RainbowKit Edition!
Happy Coding! 💜
Follow me on Twitter to see my progress with #30DaysOfWeb3 by @womenbuildweb3!